You definitely do not want to accidentally share information from your iPhone with an unauthorized person. Apple to the rescue with Safety Check! You should repeat this security check every so often to make sure your information is secure.
Why Use Safety Check?
Safety Check lets you easily see critical information you may be sharing, such as location and credentials. When you activate this check, it resets your privacy permissions for apps and limits people from accessing your messages, your downloaded applications and your phone’s camera and speaker. It also reminds you to reset your Apple ID password.
When you update your Apple ID, people who had access to your iCloud will no longer be able to see your data. You will also be able to easily review your emergency contacts.
You may not want some apps to have permission to certain information, and Safety Check is the quickest way to not only check this information but also stop the access completely.
Getting Started
You’ll need to have a personal Apple ID (not a Managed Apple ID) that uses two-factor authentication to use this tool. Sign in to:
Settings > [Your Name] on your iPhone. After you’re signed in, you can go to
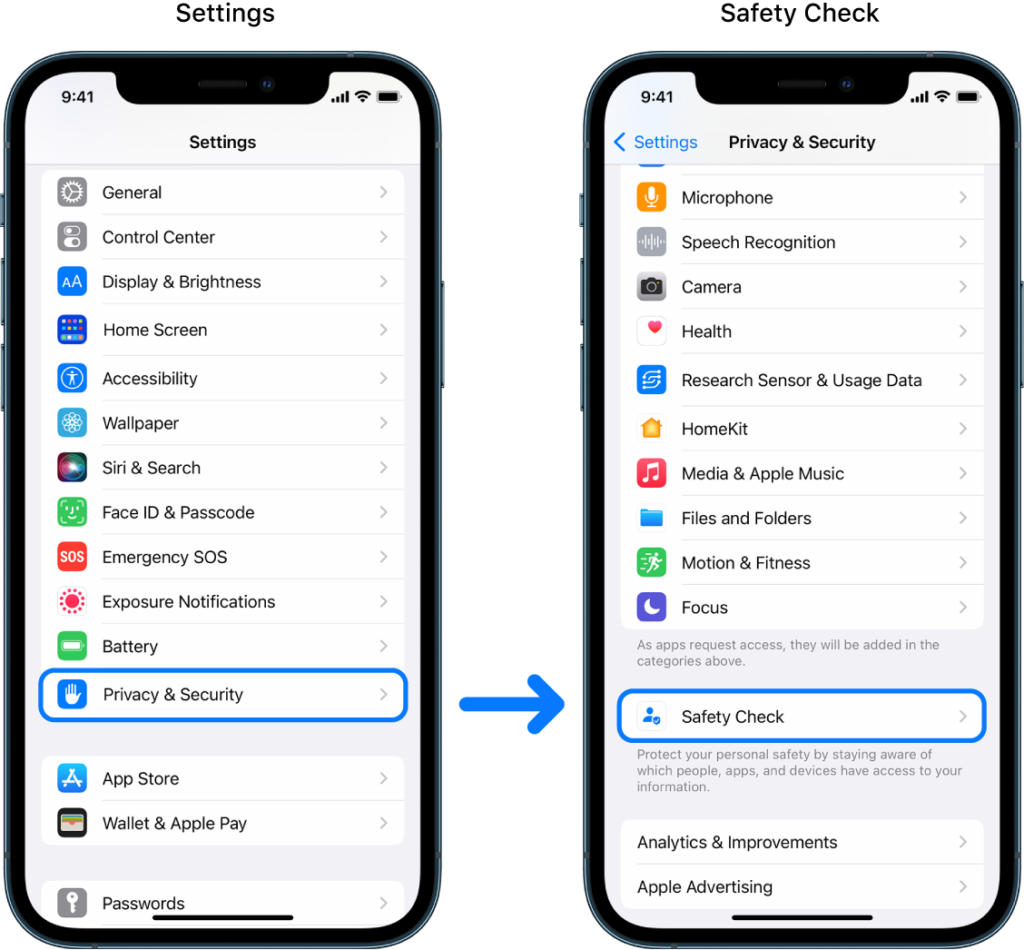
Settings > Privacy & Security > Safety Check.

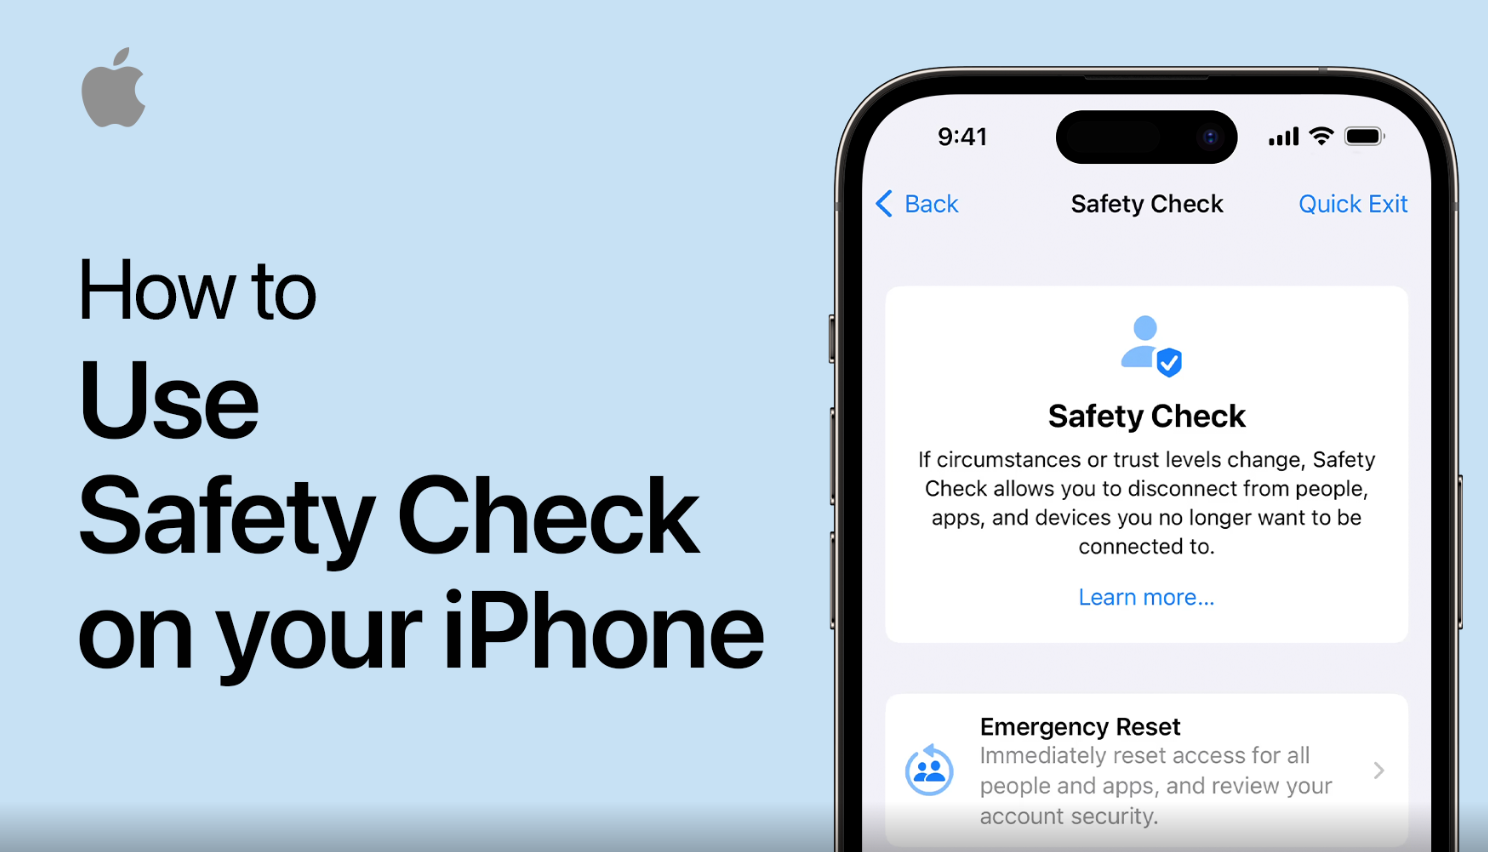
Review the different options: Emergency Reset and Manage Sharing & Access.
When you tap Manage Sharing & Access, you’ll be able to review people, apps and account security.
View the Sharing with People section and tap the blue Skip button until you reach App Access. You’ll see a list of your third-party apps and a description of what information you are sharing.
If you want to remove any permissions, tap the circle next to the app and then choose the Stop App Access button. You can even remove more than one permission at a time. To see everything an app can access, select ⓘ.
Another option is for you to choose the Information tab at the top to review the information that can be accessed. This is where you can delete calendar permissions or remove media library access.
Once you go through and revoke all of the permissions you no longer wish to grant, you can bypass the rest of Safety Check or use the Quick Exit option at the top right.
Keep in mind, it is possible to choose Select All & Stop Access. However, some applications require certain permissions to work, so we’d suggest steering clear of that choice, even though it may seem like the easiest way to protect your information.
About arobasegroup
arobasegroup has been consulting with clients and advising the best use of Apple Technology since 1998. We listen to our customers and solve problems by addressing their specific, unique needs; we never rely on a one-size-fits-all solution or require them to use a specific product. arobasegroup is your advocate in all things related to information technology. Contact us to learn how we can help: info@arobasegroup.com.
Keep Up-to-Date: An Invitation
Keep on top of all the latest Apple-related news via our social media feed. When you follow us on our social media channels, you will always be up-to-date with the most relevant Apple news and have easy access to tips and useful articles relevant for Apple, iPhone, iPad and Apple Watch users. You won’t want to miss these articles and suggestions. Please follow arobasegroup on LinkedIn by tapping here. Thank you!


