


- macOS 13.0.1 provided just unspecified bug fixes and two security fixes.
- macOS 13.1 introduced the Freeform digital whiteboard app, Advanced Data Protection for iCloud, improved searching for photos in Messages, participant cursors for shared notes in Notes and the option to play sounds in the Find My app. There were also a couple of bug fixes and important security fixes.
- macOS 13.2 added support for Security Keys for Apple ID for those who need the utmost security, fixed a few bugs, and blocked more security vulnerabilities.
- You’re too busy. The upgrade process will take a few hours, and it may take additional time to configure everything properly afterward. When you are ready to upgrade, aim for when a little downtime will be convenient.
- You’re still using incompatible software. The jump from Big Sur or Monterey to Ventura isn’t a big one, so most modern apps should have been updated to ensure compatibility with Monterey by now. But if you’re still running macOS 10.14 Mojave or earlier with 32-bit apps, you’ll lose access to them if you upgrade. (That first happened with macOS 10.15 Catalina in 2019.) With Mojave no longer receiving security updates, you need to find replacements for those apps and upgrade soon.
- You need consistent versions for workflow reasons. We’re unaware of any examples here, but it’s not inconceivable that a coworker could be stuck on an older version of macOS and thus older versions of shared productivity apps. If your upgrade would force you to update those apps and introduce compatibility issues when collaborating with that coworker, you may have to wait until your coworker can upgrade as well.
Before You Upgrade
Once you’ve decided to upgrade to Ventura, you have three main tasks:- Update apps: Make sure all your apps are as up-to-date as possible. If you regularly put off updates, now’s the time to let them complete so you have Ventura-compatible versions.

- Clear space: Ventura needs about 25 GB of free space to upgrade, and the Ventura installer itself is about 12 GB. We recommend making sure you have at least 37 GB free. Don’t cut this close—you should always have at least 10–20% free space for virtual memory, cache files and breathing room. Check by choosing About This Mac from the Apple menu and then clicking Storage.

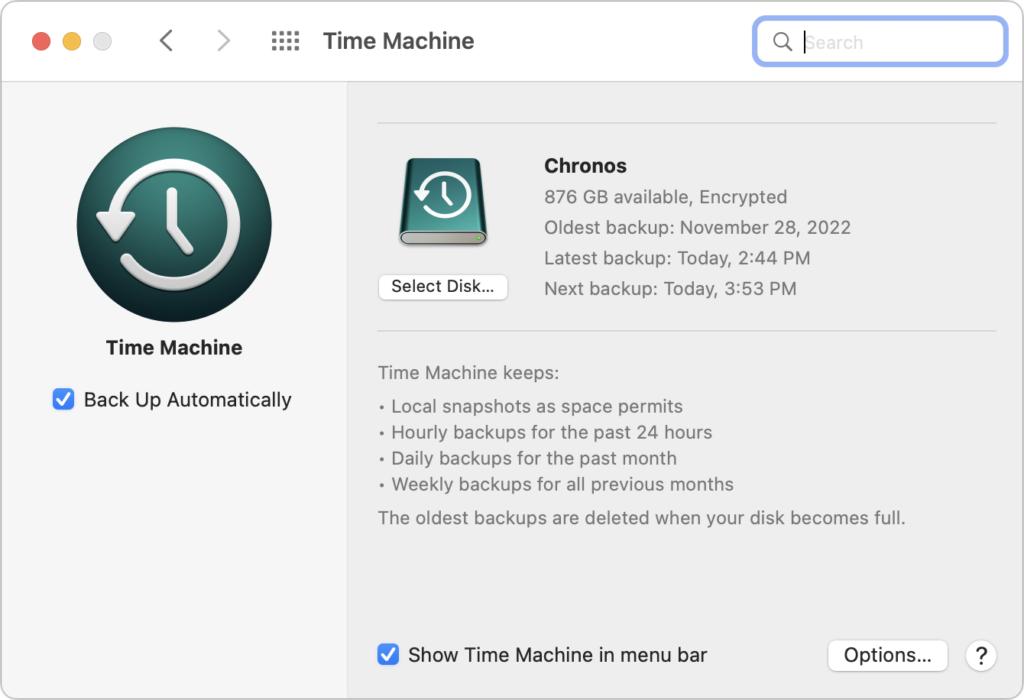
- Make a backup: Never, ever install an update to macOS without ensuring that you have at least one current backup first. In an ideal world, you’d have an updated Time Machine backup, a bootable duplicate, and an Internet backup. That way, if something goes wrong, you can easily restore.
Upgrading
After completing the above-listed tasks, ensure you don’t need your Mac for a few hours. There’s no telling exactly how long the upgrade will take, so never start an upgrade if you need the Mac soon. Initiating the upgrade is just a matter of opening: System Preferences > Software Update, clicking the Upgrade Now button and following the instructions. If you’d like more handholding, check out Joe Kissell’s ebook Take Control of Ventura.
After You Upgrade
Part of the reason to set aside plenty of time for your Ventura upgrade is that there are usually cleanup tasks afterward. We can’t predict precisely what you’ll run into, depending on what version of macOS you’re running now and what apps you use, but here are a few situations we’ve noticed in the past:- macOS may need to update its authentication situation by asking for your Apple ID password, your Mac’s password and if you have another Mac, its password too. Don’t worry that your Mac has been compromised by malware—it’s fine.
- Some apps may have to ask for various permissions even though you previously granted them. Again, that’s fine and won’t happen again.
- If you use your Apple Watch to unlock your Mac and apps (and you should, it’s great!), you may need to re-enable that in System Settings > Touch ID & Password (it’s an example of something that moved; previously, it was in System Preferences > Security & Privacy > General).
- If you use Gmail, Google Calendar or other Google services, you may need to log in to your Google account again.
- Websites that usually remember your login state may require that you log in again. If you’re using a password manager like 1Password, that’s easy.
- You may have to re-enable text message forwarding to your Mac. You do this on your iPhone in Settings > Messages > Text Message Forwarding.
About arobasegroup
arobasegroup has been consulting with clients and advising the best use of Apple Technology since 1998. We listen to our customers and solve problems by addressing their specific, unique needs; we never rely on a one-size-fits-all solution or require them to use a specific product. arobasegroup is your advocate in all things related to information technology. Contact us to learn how we can help: info@arobasegroup.com.
Keep Up-to-Date: An Invitation Keep on top of all the latest Apple-related news via our social media feed. When you follow us on our social media channels, you will always be up-to-date with the most relevant Apple news and have easy access to tips and useful articles relevant for Apple, iPhone, iPad and Apple Watch users. You won’t want to miss these articles and suggestions. Please follow arobasegroup on LinkedIn by tapping here. Thank you!
Get tips like this in your inbox
Tech That Works For You is our weekly newsletter with practical Mac, iPhone and workflow tips for your business. Unsubscribe anytime.